Enhancements
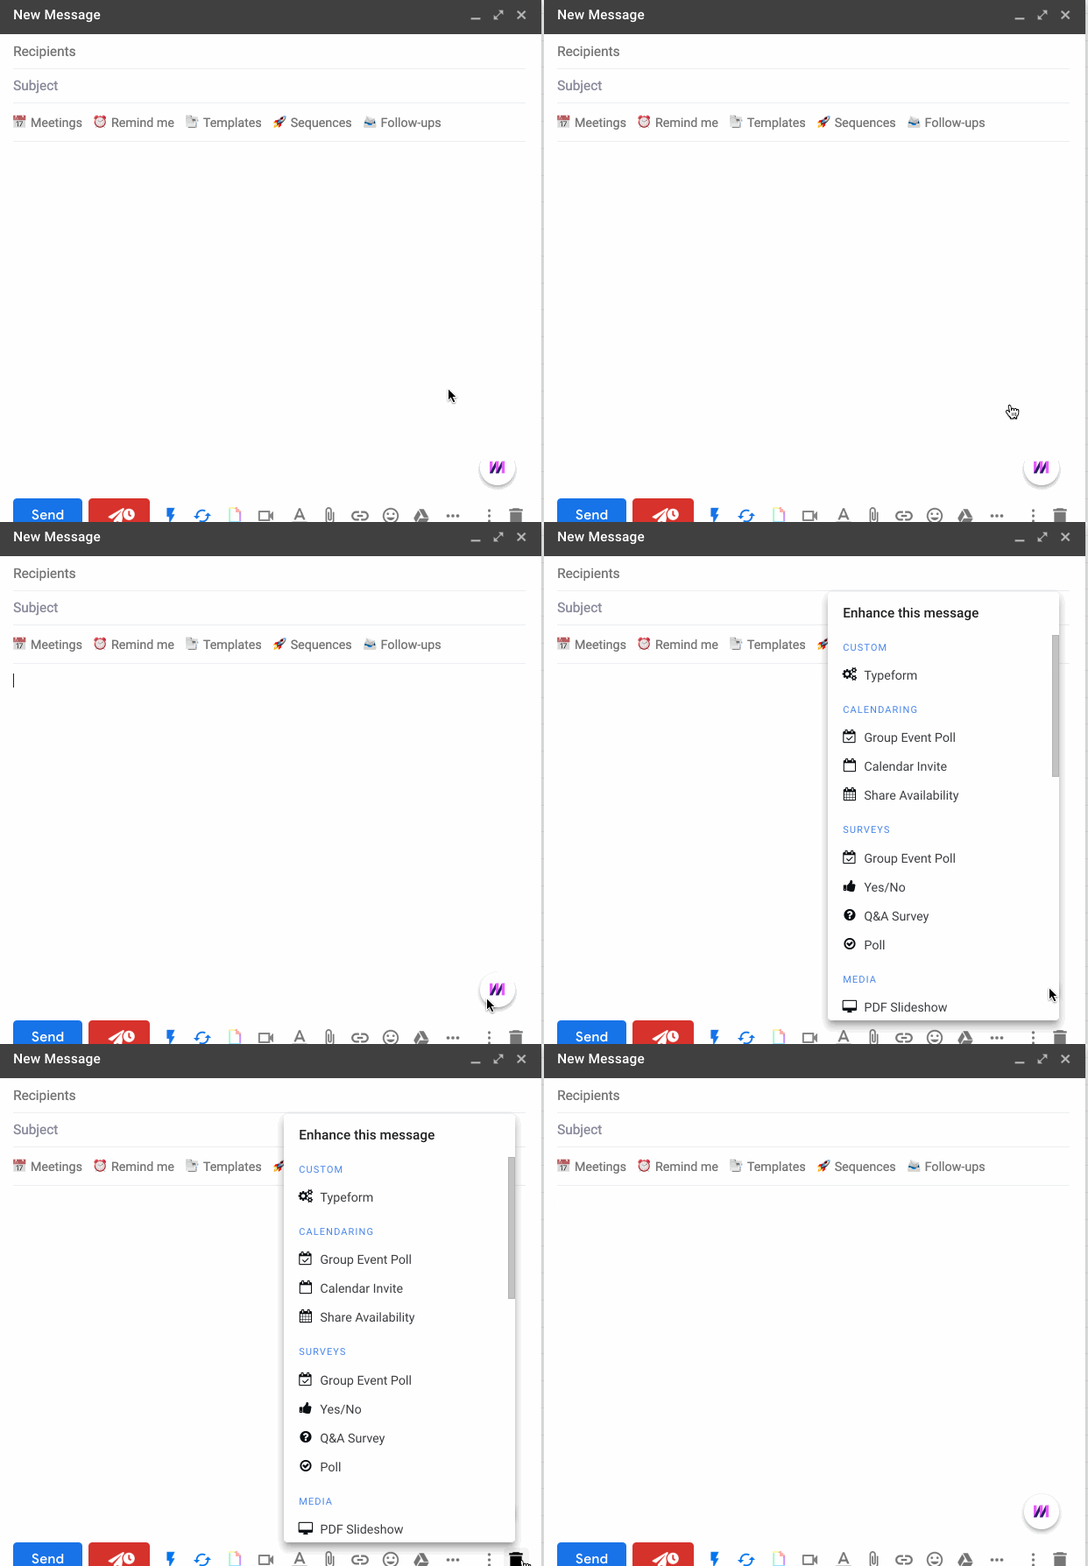
Enhancements are accessed by clicking an icon in the Mixmax Enhance menu. Examples include Availability, SMS, and Poll. Each enhancement has an interactive "editor" UI that the user can use to configure it, before placing it in the email.

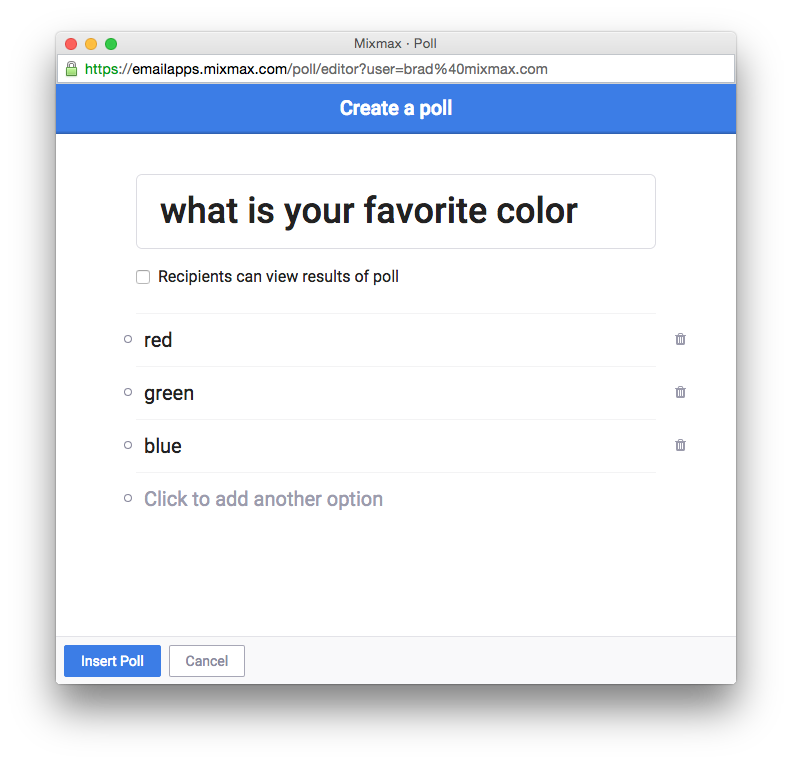
For example, when clicking the Poll Enhancement, the enhancement's "editor" is shown in a new window:

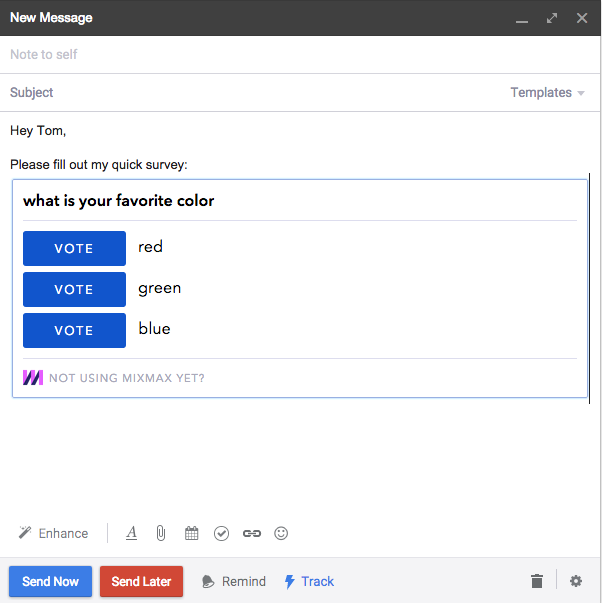
Once the user is done with their input and clicks OK, HTML content generated by the enhancement will be placed in the compose window at the cursor location:

If the user wishes, they may bring up the enhancement's editor by clicking Edit:

When the email is sent, the enhancement may be optionally notified via the “activate” api that is passed information about the particular email it was dropped into.
Let's dive in a bit on what each parameter means, and what is expected of you as the developer to build.
Parameters
Name
The name of the enhancement that shows up in the Enhance menu.
Icon Tooltip
Text to display as a tooltip over the icon in the UI.
Editor URL
URL to show in a new browser window when the enhancement is clicked. The query string parameters “?user=<email>” will be appended to the URL. The ‘user’ parameter is not to be fully trusted since it can be easily modified in the browser address bar. If you need to rely on it (e.g. if you’re creating a database record for this enhancement instance), consider instead using the activation url, as that passes the user parameter securely along with other message attributes that you might want to store. The messageId is useful if you want to use the /messages REST API to fetch the content of the message (by its _id), but it will not be present if the user is inserting your enhancement from a template (where there is no message at that time). The editor is required to use the Mixmax SDK.js and call the appropriate function (either Mixmax.editor.done() or Mixmax.editor.cancel()) to dismiss itself.
Resolver URL
RESTful API that is called with the enhancement instance parameters that returns the string HTML representation of the app card. See more information about client-side requests in Mixmax. The following is POSTed to the URL via regular form data:
- params: JSON object of the enhancement parameters (most likely returned by the editor url via the sdk.js).
- messageId: If the enhancement is being inserted into a message (as opposed to a template), this will have the
_idof the message. You can use the/messages/:idREST API to fetch information about the message.
This URL is expected to return a JSON object with the following properties:
Parameter | Type | Description |
|---|---|---|
body | String | The HTML representation that is inserted into the message as a "card" (an immutable island of content in the editor). This can optionally have variables. |
subject | String | Optional (defaults to empty string). If this happens to be used inside an email message (as opposed to a Mixmax template or a Mixmax signature) that doesn’t already have a subject set, this will set the subject. For example, if the user is typing “/weather SF, CA” and presses enter, the command could automatically set the subject to “Live weather for SF, CA” |
raw | Boolean | Optional (defaults to |
If the resolver URL is unable to return content because of invalid user input, it should return an HTTP status code of 400 with the json payload of {message: "<failure reason>"}. This will show a custom error message in the compose window. If this is not provided, then Could not complete command will be displayed as the default error message.
Activate URL (optional)
URL that is posted to when the enhancement is being activated (i.e. when it is being sent in a message). It is passed:
-
user: Email address of the Mixmax user. This can be trusted since this call originates from the Mixmax backend.
-
toRecipients: Array of objects, each with ‘email’ and optional ‘name’ keys, of the recipients in the 'to' field of the email.
-
ccRecipients: Array of objects, each with ‘email’ and optional ‘name’ keys, of the recipients in the 'cc' field of the email.
-
subject: String subject of the message.
-
params: JSON object of the enhancement instance parameters that were originally sent from the Editor.
-
messageId: The
_idof the message, in case you want to use the/messages/:idAPI to fetch more information about the message than what's provided here.This API should return an empty 2xx response.
Tutorial: Building Giphy Enhancement
(note: also see our blog post)
We'll walk you through adding an example open source Giphy Picker enhancement.
- Git clone https://github.com/mixmaxhq/giphy-mixmax-app
- Run
npm installandnpm start - Restart Chrome in a special temporary mode so the self-signed HTTPS urls can be loaded. See here.
- Verify it works by visiting https://localhost:8910/editor in your browser. It should load a Giphy image picker UI.
- Open up the Mixmax Dashboard, click Settings -> Developer -> Add Enhancement.
- Enter the following for the inputs:
Input name | Value |
|---|---|
Name | My Giphy |
Icon Tooltip | My Giphy Picker |
Editor URL | https://localhost:8910/editor |
Resolver API URL | https://localhost:8910/api/resolver |
Activate API URL | leave blank |
- Refresh Gmail with Mixmax installed. Click Compose and hover over the Enhance menu. You should see the My Giphy enhancement at the top.
Example lifecycle
This example demonstrates the lifecycle of an example weather enhancement. The enhancement asks the user for their city and inserts a graphic in the email with up-to-date weather for that city.
-
The user chooses to insert your “Weather” enhancement in their Mixmax message. Mixmax launches the Editor URL in a new window, which just has a text input that they can enter their city name into. Javascript running in the editor calls
Mixmax.editor.done({city: “San Francisco, CA”}) -
Mixmax calls the Resolver URL and posts the enhancement parameters
{city: “San Francisco, CA”}. Your resolver returns HTML that is placed inside the editor. In this case, your HTML might just be a dynamically generated image to show the weather, e.g.<img src=”https://weatherapi.com/img?city=San%20Francisco%2C%20CA”>. -
When the user sends their message, the Activate URL is called and is sent the enhancement parameters
{city: “San Francisco, CA”}. Additionally, the recipients of the message are passed so you can keep a record of who it was sent to.
Example enhancement lifecycle if the user edits
-
Same 1 and 2 steps above.
-
The user decides they want to change the city and click the edit button in the card (inside the message). Mixmax re-launches your editor, but this time with
?data=%7Bcity%3A%22San%20Francisco%2C%20CA%22%7Don the querystring. You show “San Francisco” pre-populated in the text field and they change it to “San Jose, CA”. -
When they are done editing, the enhancement calls
Mixmax.editor.done({city: “San Jose, CA”}). -
Mixmax calls the Resolver URL and sends the new enhancement parameters,
{city: “San Jose, CA”}. The enhancement resolver returns new HTML. -
When the user sends their message, the Activate URL is called.
Example enhancement lifecycle involving templates
-
Same 1 and 2 steps as first example.
-
The user shares the template with Person B.
-
Person B adds the template to their Mixmax message and clicks Send.
-
Mixmax calls the Activate URL and is sent the enhancement parameters
{city: “San Francisco, CA”}, the recipients of the message, and Person B’s email as the ‘user’ since they are the one sending.
SDK.js
Include the following line of Javascript in your enhancement's editor (the document hosted at editorUrl):
Mixmax SDK has two functions that can be called:
Mixmax.editor.done({ /* params */}) - This is called when your user is finished interacting with the enhancement. For example, this might be called when the user clicks the “OK” button in your editor. Or perhaps if they just need to drag in a file, this is called after the file is uploaded. Be aware that if there is a current value for window.opener then this function will close the current tab or window with window.close().
Mixmax.editor.cancel() - This is called if you’d like to cancel the editor. For example, this might be called when the user clicks Cancel in your editor or when they hit the escape key.
If you're using a JavaScript bundler like Rollup or Webpack, instead of loading the SDK using a script tag, you can import the SDK from npm like
If your bundler is capable of importing ES6 modules and understands pkg.module, you can import the SDK like
Updated 16 days ago
